Thanksgiving Tree Steps and Scripture Leaves Templates

Hey social media friends! Glad you stopped by!
I hope you enjoy this simple, fun and meaningful Thanksgiving activity.
(Click the button to get access to the leaf templates.)
A Thanksgiving Tree can be made out of anything. A Pinterest search revealed dazzling photos of trees made out of paper, cloth, branches, or various seasonal items. The trees can be 3-dimensional or taped against the wall.
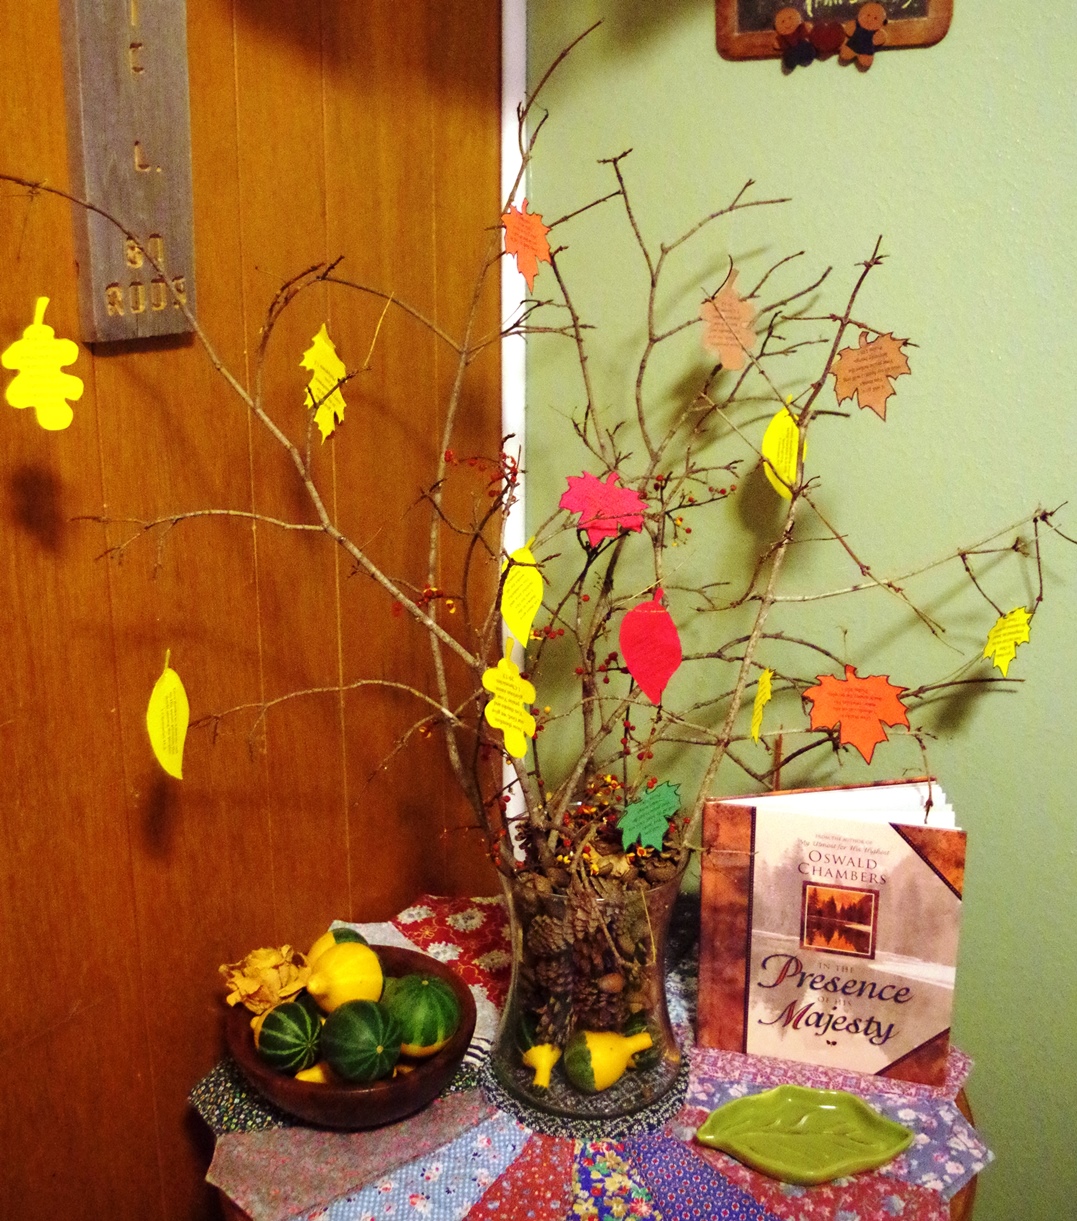
Being a nature girl, mine look mostly like this.

The important thing is to set up the tree as a tool for cultivating gratitude.
Here are the steps and the Scripture leaves template I use.
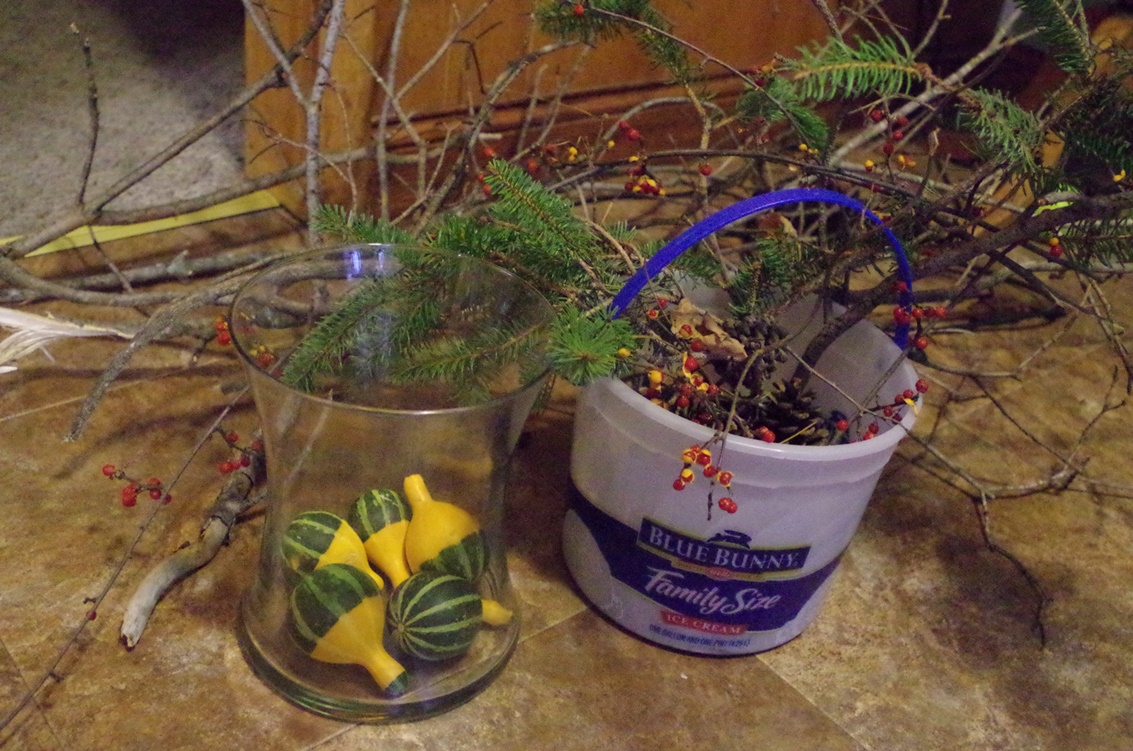
1. Find a vase or some container to hold the tree.
2. Gather material for the tree: for me that means branches; bittersweet, gourds, minipumpkins, pine cones, and acorns for color and added interest.

3. Arrange the materials in the vase to form the tree.
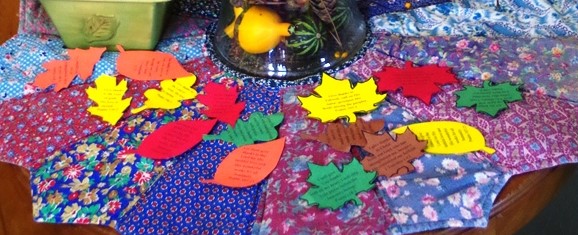
4. Save and print out the Scripture Leaves templates in various fall colors (orange, red, yellow, even brown).

5. Cut out the leaves, and use a needle to “sew” quilting thread or strong thin string through the base of each leaf. I use this technique to do many leaves at once, stringing them together and then cutting them apart. This saves time, but beware; it is very easy to pull the string out while cutting and tying.
6. Incorporate the leaves as decorations on the tree or place them around/near the tree until using them to record the year’s blessings on the back.
7. Get started now, and never stop giving thanks!
Click the button below to get access to the leaf templates.
By His Grace,
Julie
I'm thrilled you are here!
I'd love to have you subscribe to my website, so we can do life together.
When you do, you'll receive some amazing freebies as well as periodic updates and new blog posts.
(Don't worry, you're not locked in; you can unsubscribe at any time.)

